
How to carry out a Building Front Face and Interior Survey with Analist, Pix4Dmapper and DISTO S910
Fig. 1 Click on the image to add animation to the model to carry out measurements
Do you need to carry out a Front Face Survey of a building? Do you need to perform an Interior survey? We have the Complete Solution for your case. You will be able to find everything you need to achieve a prompt successful survey here with us: from instrumentation to façade survey software. We will guide you in some very simple steps using the new most complete Leica DISTO S910 laser distance metre from which you will be able to generate a three-dimensional model from photos using the Pix4Dmapper Automatic Photogrammetric Software, we will then show you how to import and manage the Point Cloud and perform all the measurements on it with Analist 2016 CLOUD.
Operation Sequence:
- Identify a series of points both internal as well as external to the building with the DISTO S910. Include at least 3 points in common for the internal and the external parts of the building Building Front you are surveying.
- Connect the DISTO S910 to your computer and save the DXF surveys.
- Import the DXF (internal and external) DXF into Analist 2016 CLOUD and join the two surveys together by indicating the threee points they have in common.
- Shoot some photos of the buiding façade by walking past it with a GoPro (you can also very simply use any camera).
- Save the photos on your computer and feed them to Pix4Dmapper to create the point cloud and the 3D model.
- Import the point cloud you generated with Pix4Dmapper into Analist 2016 CLOUD: now you can put together the point cloud and the survey with the DISTO S910 (internal ad external combined survey). At this point you can take all the measurements you want.
Building façade you want to survey:

Interior you want to survey:

1. Identify indoor and outdoor points with the Leica DISTO S910 distance laser meter
The idea is to identify a series of points along the survey area perimeter. With the DISTO S910 this operation is simple, fast and extremely accurate.
A tip: use the S910 support rollers to have highest point precision.

The DISTO S910 laser distance metre comes with a camera and 4x zoom which will allow you to identify your points most accurately and quickly.

After taking your points, the Disto S910 will automatically create the 2D and the 3D DXF files of the survey.
Did you know that the new Leica DISTO S910 automatically creates the 2D and the 3D DXF files of the survey?

Identify external points on the façade.


NB: to join together two different surveys (in this case: indoor and outdoor), it is necessary to identify at least 3 points the two surveys have in common. In our case we have taken the points of a tile in the hallway which can be seen both from inside as well as from outside.


Learn more about the new Leica DISTO S910 distance laser metre
2. Connect the DISTO S910 to your computer and save the generated files:

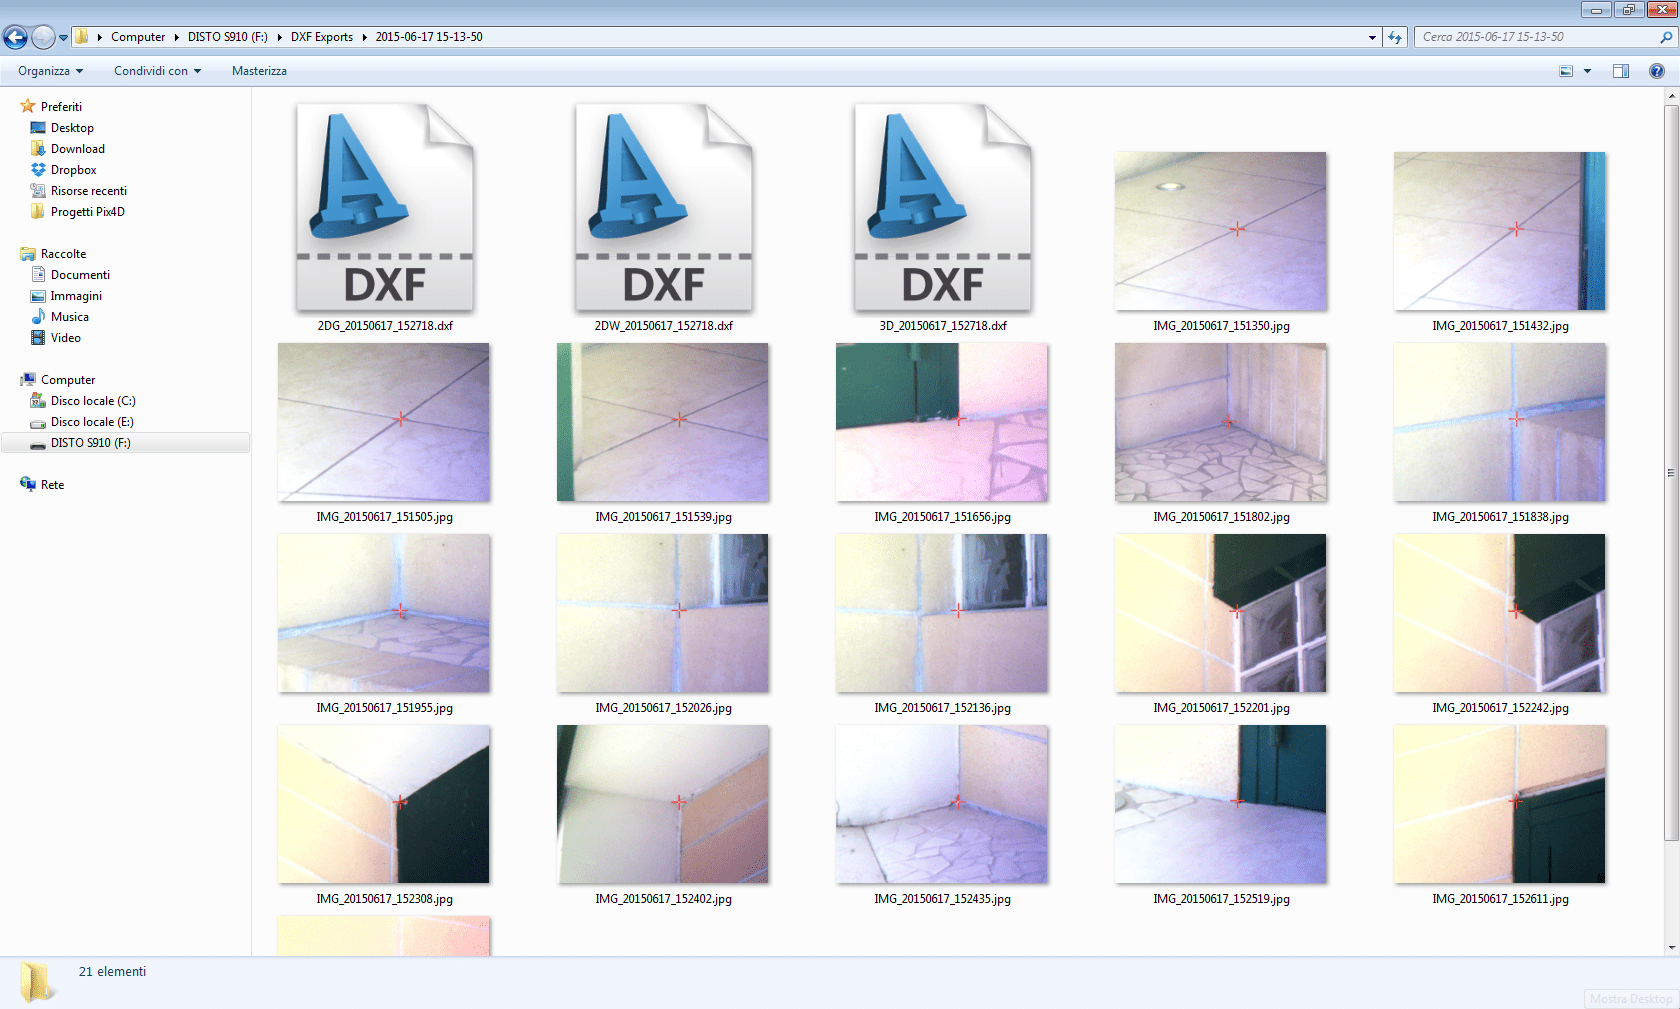
Here is how the files are shown in the DISTO S910:
Our advice is to organise your work by creating some folders on your PC. In our case, as we need to survey indoor and outdoor areas we have created 2 folders “indoor” and “outdoor” to keep everything organised.

3. Import DXF files generated by the DISTO S910 into the Analist 2016 CLOUD Software and join the two surveys together
The DXF file importation into Analist 2016 CLOUD is the by the far the most simple operation.
Step A: Select “INSERT” top left click in Analist:

Step B: Click on “BROWSE” to choose the files to import:

Step C: Select the DXF file and click on “OPEN“, then click on “OK”. Click anywhere you wish within the CAD to import the DXF file.

The DXF file has been imported into Analist 2016 CLOUD:

Step D: At this point we need to import the outdoor DXF with the same procedure. Step E: Now join the two DXF files by indicating the 3 points they have in common:

Now we need to focus on the Façade.
4. Shoot a series of photos with a GoPro HERO 4

Shooting a photo sequence is very fast: all you have to do is walk along your façade with a GoPro. We set 2fps (frames per second) as we walked along the façade. We have thus produced 42 photos which will be used to create the 3D model, the façade point cloud.
How do I know how many photos to take? Well, the most important thing is to make sure that there is overlapping of the images. This is why we chose a quite fast shooting sequence (2fps) and we have walked quite slowly along the survey area.

5. Automatically generate your Point Cloud and your 3D model of the photos with Pix4Dmapper
Generarting Point Clouds and 3D models with Pix4Dmapper is very easy. First and foremost save the pics on your computer. Start Pix4Dmapper and select “NEW PROJECT” to start a new Project.

Select the GoPro photos previously saved on your computer.
A tip: keep the folders with the photos, videos and DXF files of your project tidily stored on your computer, it will be much more simple.

Start processing.

DONE.

Pix4Dmapper will AUTOMATICALLY provide the Point Cloud and the 3D Model of your survey! Pix4Dmapper FREE Download
6. Import the Point Cloud into Analist 2016 CLOUD, join it with the DXF model with the DISTO S910 and carry out all the measurements you wish
Import the Point Cloud into Analist 2016 CLOUD:

Scale the Point Cloud joining it with the points identified with the DISTO S910.

Start to measure. You are now free to carry out all the measurements you wish!


To sum up:
- DXF generated with the Leica DISTO S910 laser distance metre
- 42 photos taken with a Hero 4
- Point Cloud and 3D Model creation with photos with Pix4Dmapper
- Scale, Model georeferencing, Merge and Measurements with Analist 2016 CLOUD
Photo gallery
Last but not least for a grand professional Survey is contextualization and animation of your 3D Model. Here is a preview with some examples of the newest OneRay-RT:
Useful links: